Time Card Calculator - User Guide

Our time card tool is very easy to use and navigate. This guide will walk you through how to use this calculator. Also, if you are having any issues understanding the settings or using the tool, reading this will help, or you can message us via the contact page. We will try our best to solve your query promptly.
Inputting Time Card Entries
There are many different features and functions that you can use with our free time card calculator. Below, we have provided a detailed guide on how to use them all step by step.
- Input the name of the person/employee whose pay you want to calculate.
- Press ‘Tab’ to move to the next field. You can also do this by clicking with a mouse and tapping on the next field on smartphones.
- Next, select or manually enter the date in mm/dd/yyyy format. This doesn’t affect functionality/calculation and is only added to the report to show the calculation period.
- When entering data in the fields, use only numbers and letters (for names only). Avoid inputting special characters, dots, commas, etc.
- After inputting the name and selecting dates, next add the hourly base pay rate. Currency can be changed by clicking. By default, it is set to USD.
- Next, fill in the time fields. By default, it is set to one week of 5 working days. Here you have to add:
-
- Starting time
- Ending time
- Break time (can be subtracted automatically from the total)
- You can add time for days individually. It is helpful if the work or break hours differ from the usual on any day.
- If the daily time is the same throughout the period, enter the details on the first day and check the ‘Auto Fill’ feature above the time fields. All remaining entries will be filled automatically with the duplicate entry.
- Our Time Card Calculator also calculates pay using daily total hours. Just select ‘Daily Totals Only’ and enter each day’s working hours in the ‘Total’ field.
Time Card Tool Settings
Our Time Card calculator offers advanced settings to help you customize it and calculate pay as needed. These settings can be accessed by clicking the ‘Advanced Settings’ and ‘Change my Settings’.
Note: When any setting is changed, click/tap the ‘Update Settings’ button to save the changes.
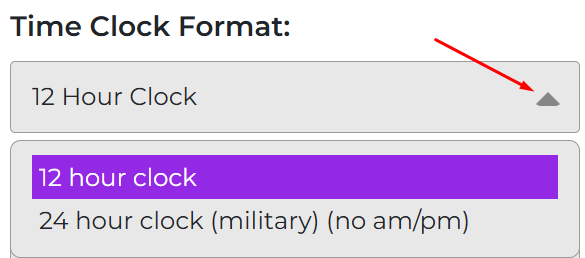
1. Time Clock Format
By default, the calculator's time clock format is set to 12-hour. You can change it to 24-hour military time (no AM/PM) by selecting a time clock format from the Time Clock Format dropdown in settings.
2. Use AM and PM
By default, the time is set to AM and PM to divide the time. This feature automatically gets disabled for the 24-hour clock. Plus, you can remove it and use a 12-hour clock by selecting "No am/pm" under settings. The tool can still give you an accurate pay calculation for up to 10 total hours a day.
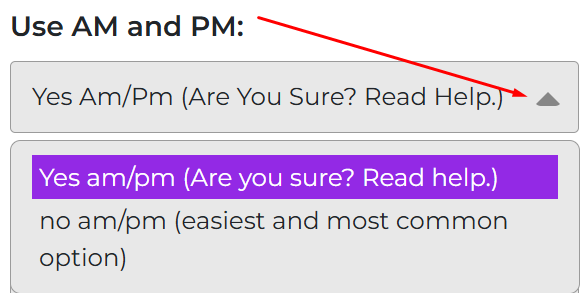
Caution: Do not disable AM/PM if a day's total hours exceed 10 (24-hour clock format is an exception).
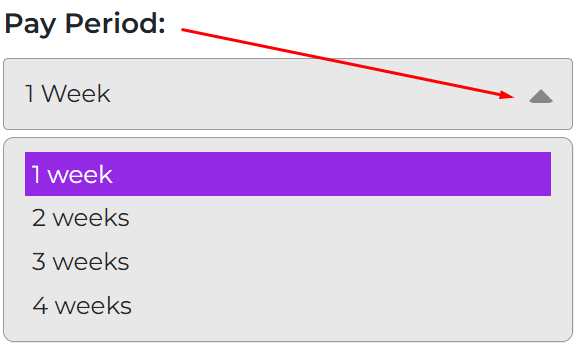
3. Pay Period
The pay period is set to one week by default. You can add up to 4 weeks by changing the settings, which is approximately a month. To add more weeks, open the Pay Period drop-down under settings and select one among the following that suits you the best:
- 1 week
- 2 weeks
- 3 weeks
- 4 weeks
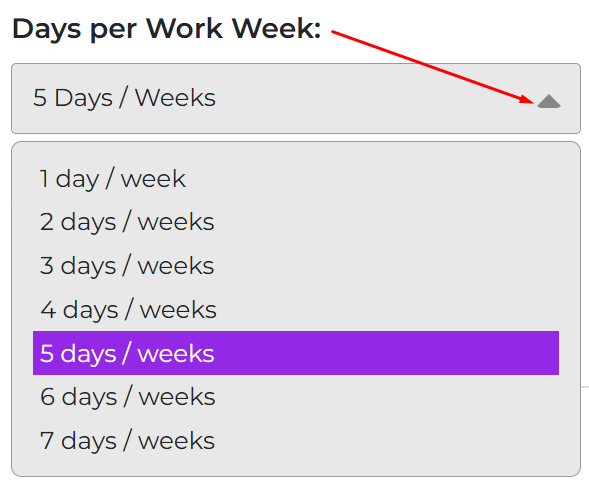
4. Days Per Week
You can select between 1 and 7 days per week. By default, it is set to 5 days per week. To change, open the drop-down labeled as ‘Days per Work Week’ and select the number of days you want to add.
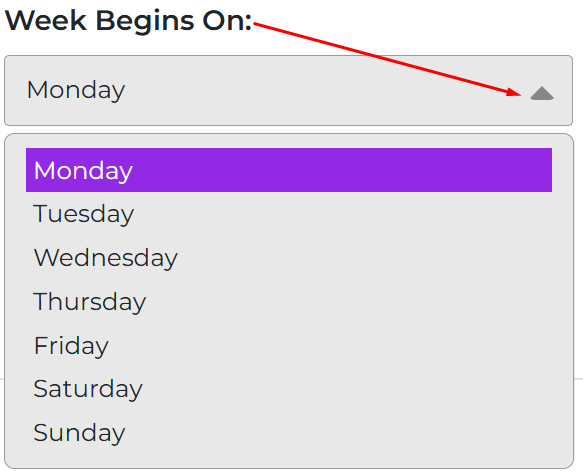
5. Week Begins On
The week is set to begin on Monday. In some regions, e.g., some Gulf countries, the week starts from Friday. You can change the week start day by updating the ‘Week Begins On’ setting in settings.
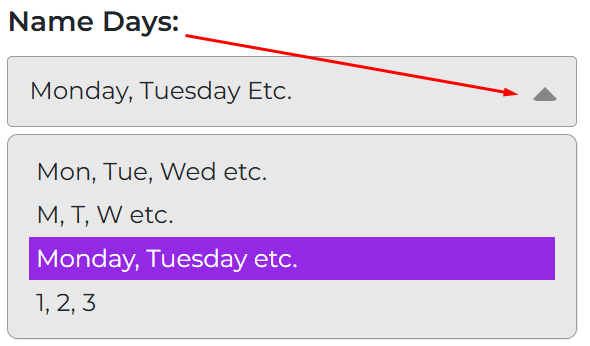
6. Name Days
By default, the calculator displays full day names such as Monday, Tuesday, and so on. You can change this setting to use a different format in your report.
Under Name Days, choose one of the available options:
- Full names (Monday, Tuesday, etc.)
- Short names (Mon, Tue, Wed, etc.)
- Single letters (M, T, W, etc.)
- Numbers (1, 2, 3, etc.)
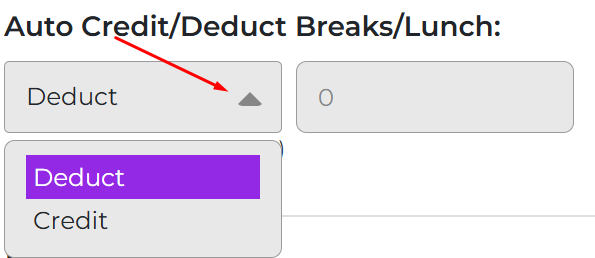
7. Auto Credit/Deduct Breaks/Lunch
By default, the tool deducts break or lunch time from total working hours. This matches how most payroll systems calculate pay. You can change this setting to credit break time instead, if your policy requires it. Enter the break or lunch duration in minutes. You can add up to 180 minutes per day.
Pay & Overtime
Our Time Card Calculator also lets you customize pay and overtime settings. To customize settings related to pay rate and overtime, navigate to the ‘Pay & Overtime’ section under ‘Advanced Settings’.
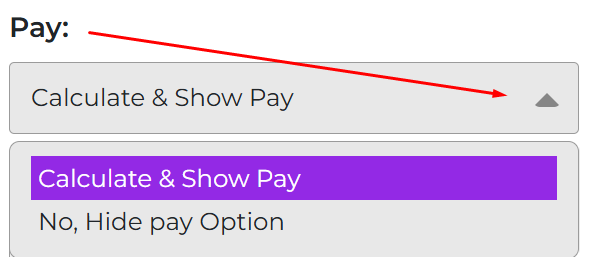
1. Pay
When you enter hourly details in the tool, it automatically calculates and displays gross pay in real time. But many users need this calculator only to calculate:
- Total work hours
- Overtime hours
- Break hours
Those who do not want to calculate gross pay and need only hours-related information can hide the pay option by switching from ‘Calculate & Show Pay’ to ‘No, Hide Pay Option’ under pay settings.
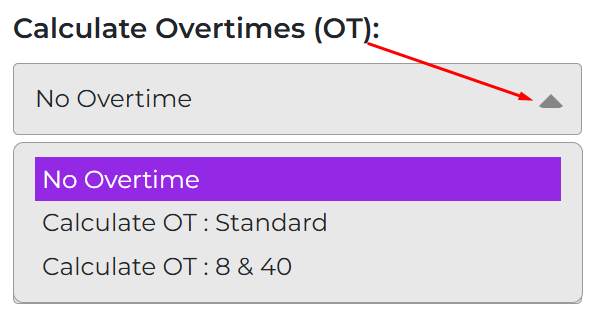
2. Calculate Overtimes
Our calculator gives you three different options related to calculating overtime, including:
- No overtime (selected by default)
- Calculate OT: Standard (set to 40 hours per week)
- Calculate OT: 8 & 40 (set to 8 hours a day and 40 hours a week)
3. If OT: Standard, OT After:
When you enable any of the calculate OT options, you can still customize the hours using this field.
You can change this value depending on your company’s policy.
You can choose whether the hours you enter apply to:
- Hours per Week: Overtime begins once the total hours worked in a week exceed the value you set (e.g., 40 hours).
- Hours per Day: Overtime starts once daily working hours exceed the value you set (e.g., 8 hours).
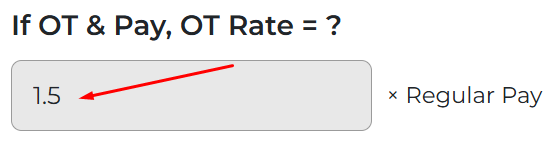
4. If OT & Pay, OT Rate = ?
This setting defines the overtime (OT) pay rate used when calculating both hours and pay. By default, the calculator uses 1.5× your regular hourly rate.
You can change this rate to match your company’s policy. Simply enter the multiplier you want, for example:
- 1.25×: Pay 25% more than the regular rate for overtime hours
- 2×: Double pay for overtime hours
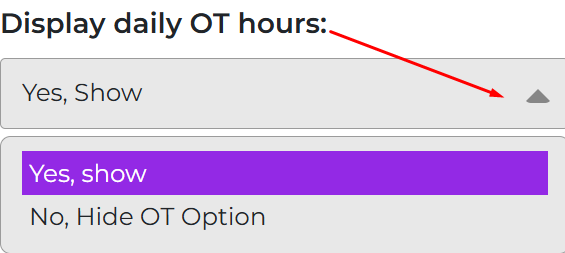
5. Display Daily OT hours
From this setting, you can choose whether you want daily overtime hours to appear in the report or not. By default, it is set to ‘Yes, Show’, which you can change to ‘No, Hide OT Option’.
That was all about the settings of our Time Card Calculator. No matter what changes you made, do not forget to click ‘Update Settings’ to save them.
6. Hit the Update
Once you are done customizing settings, you must click the ‘Update Settings’ button to save them. In case anything goes wrong or you forget what changes you have made and want to reverse it click the ‘Reset to defaults’ button. This will restore the tool to its original settings instantly.
